A Quick Guide to Replacing Your HDD or SSD
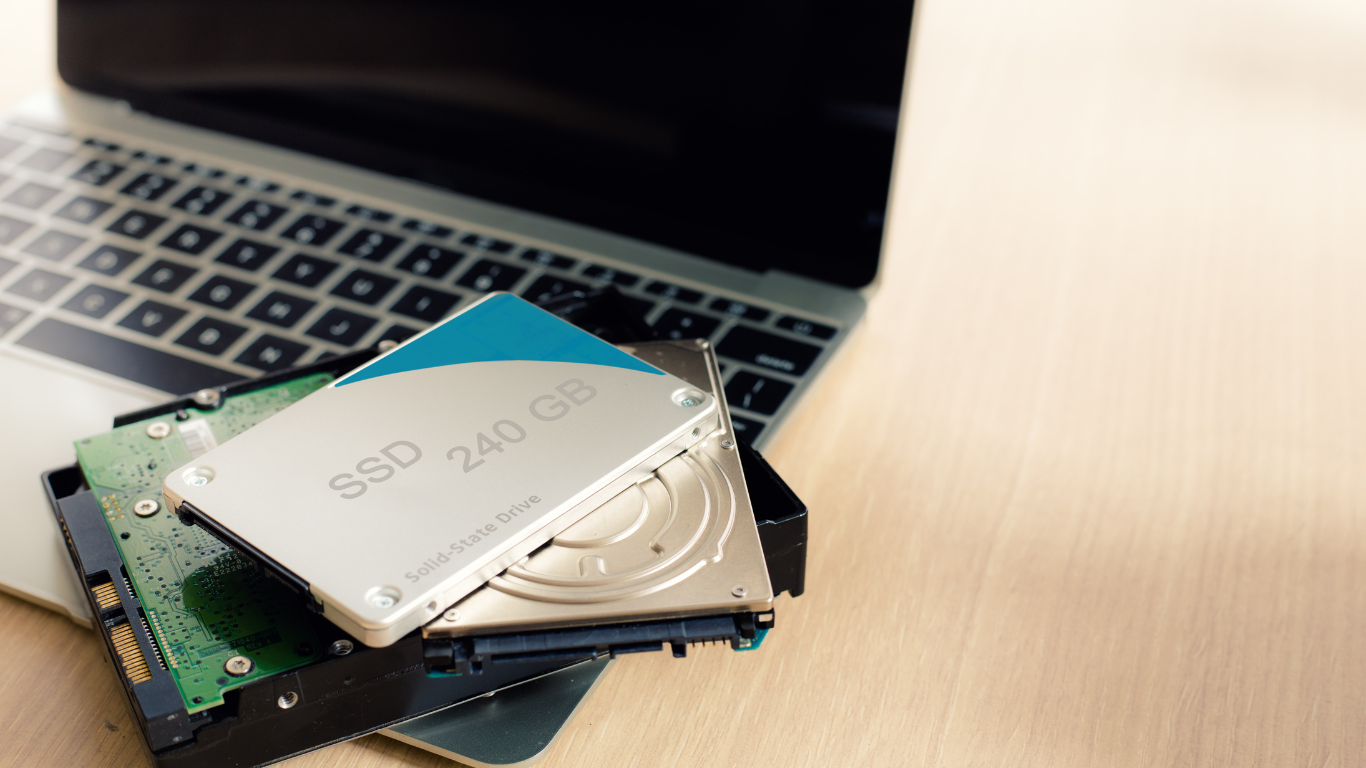
In this guide, we will walk you through the process of replacing your existing system drive, whether it is a traditional magnetic hard drive or a solid state drive (SSD). This replacement may be necessary if your current drive is failing or simply outdated, and you wish to upgrade to a better-performing one. The steps outlined here apply broadly to both types of drives. Follow these instructions carefully to ensure a smooth transition and to safeguard your data.
Preparation and Data Backup
Before undertaking any drive replacement, back up all your data. This precaution ensures that you don’t lose valuable information in case something goes wrong during the process. Keep the original drive intact and refrain from erasing or discarding it until the replacement and upgrade process is fully completed and tested. Creating a recovery disk is another crucial step. This disk will allow you to boot your computer even in the absence of an operating system on the new drive.
If your system does not have an optical drive, which is common in many modern laptops, you can create a bootable USB drive with the recovery environment. You might need to enter the BIOS settings to prioritize USB boot over other devices.
Gathering Necessary Tools and Creating the Recovery Disk
In the absence of a recovery disk, you can create one using another system. For instance, Windows 10 lets you create a recovery disk via the Control Panel. You can also download recovery disk images from the Internet. Ensure you have all the necessary tools before starting the replacement. For desktop computers, you will need a standard Philips screwdriver to remove the case cover and mounting screws. For laptops, a smaller jeweler’s Philips screwdriver is often required.
Safety Measures
Always prioritize safety by powering down and unplugging your computer before proceeding. Using an anti-static mat and wristband helps avoid potential damage from electrostatic discharge.
Removing the Old Drive
For desktop computers, remove the external casing to access the hard drive. Disconnect the power cables and data connectors from the drive, and remove the mounting screws on both sides to slide the drive out of its bay. Note that some systems may use customized clips or clamps instead of screws to secure the drive. If such clips are present, release them to remove the drive.
For laptops, the process is similar but often simpler. Laptop hard drives typically do not have cable connections, and you usually access them through a recessed compartment on the underside of the unit. Remove the compartment cover screw to access the drive. Laptop drives are typically secured with tabs and slots built into the motherboard, which handle power and data connections.
Installing the New Drive
Insert the new drive into the empty bay. Secure it with screws or use the built-in clips, as applicable. Attach the power and data cables, and close the computer case. Essentially, this involves performing each of the previous steps in reverse order. Although some variations exist depending on the manufacturer, the process remains consistent in general.
Replacing a Laptop Drive
For laptops, replacing the hard drive is similar to desktop procedures but involves differences in physical units. You might access the drive through a recessed compartment on the laptop’s underside. Remove the screw securing the compartment cover to reveal the drive. The drive, equipped with connectors that slide into the motherboard slots, usually makes all necessary power and data connections. Securing screws ensure the drive doesn’t disconnect during transportation or handling.
Ensuring Compatibility
When replacing an existing SSD, knowing the form factor of your current drive is crucial. Most desktops and laptops adopt the 2.5-inch form factor, the prevailing standard. Smaller devices might use the mSATA form factor, which is approximately one-eighth the size of the 2.5-inch. Ultra-thin or mini devices may utilize the M.2 or M2 form factor, often described as being roughly the size of a stick of gum.
Verification and Final Steps
Ensure your device is compatible with the replacement drive by consulting product documentation or contacting the vendor. Before finalizing the installation, verify what type of drive you currently have and cross-check to avoid compatibility issues. Once the new drive is installed, test the system by booting it up using the recovery disk or USB drive. If the system boots successfully, proceed with installing the operating system and restoring your backed-up data.
Conclusion
Replacing your hard drive or SSD can significantly improve your computer’s performance and extend its lifespan. By following this comprehensive guide, you can confidently replace your system drive while ensuring data safety and device compatibility. Always exercise caution and seek professional assistance if unsure about any steps.
For more detailed information about Solid-State Drives (SSDs) and their advantages over traditional hard disk drives (HDDs), you can check out here.
Next Class


Post Comment